A Powder Room Plan & Progress
Sometimes you have to make decisions and you have to make them quick.
That should be the tag line for our Powder Room Project, it sums it up perfectly.
Fortunately, with the help of our Instagram friends, we were able to make a plan for the powder room in record time. (Thanks to all who voted!) Thankfully, because progress was happening and the longer it took to come up with a plan, the longer we were out of a bathroom on the first floor.
Top right: where we started, Top left: planning out the moulding after the fixtures had been removed
Botton right: primed walls, top and bottom boards installed, Bottom left: completed moulding, waiting for caulk & paint
A quick round up of the beginning steps: obviously, we started by removing the existing fixtures, taped off our desired height of moulding, primed the lower walls and attached the moulding starting with the lower board, then the top board than the vertical boards, followed by the decorative finishing pieces.
I’m making it sound really easy, which my husband confirms…once you figure out the math for the cuts, that is.
He did a great job, I couldn’t be prouder.
Paint.
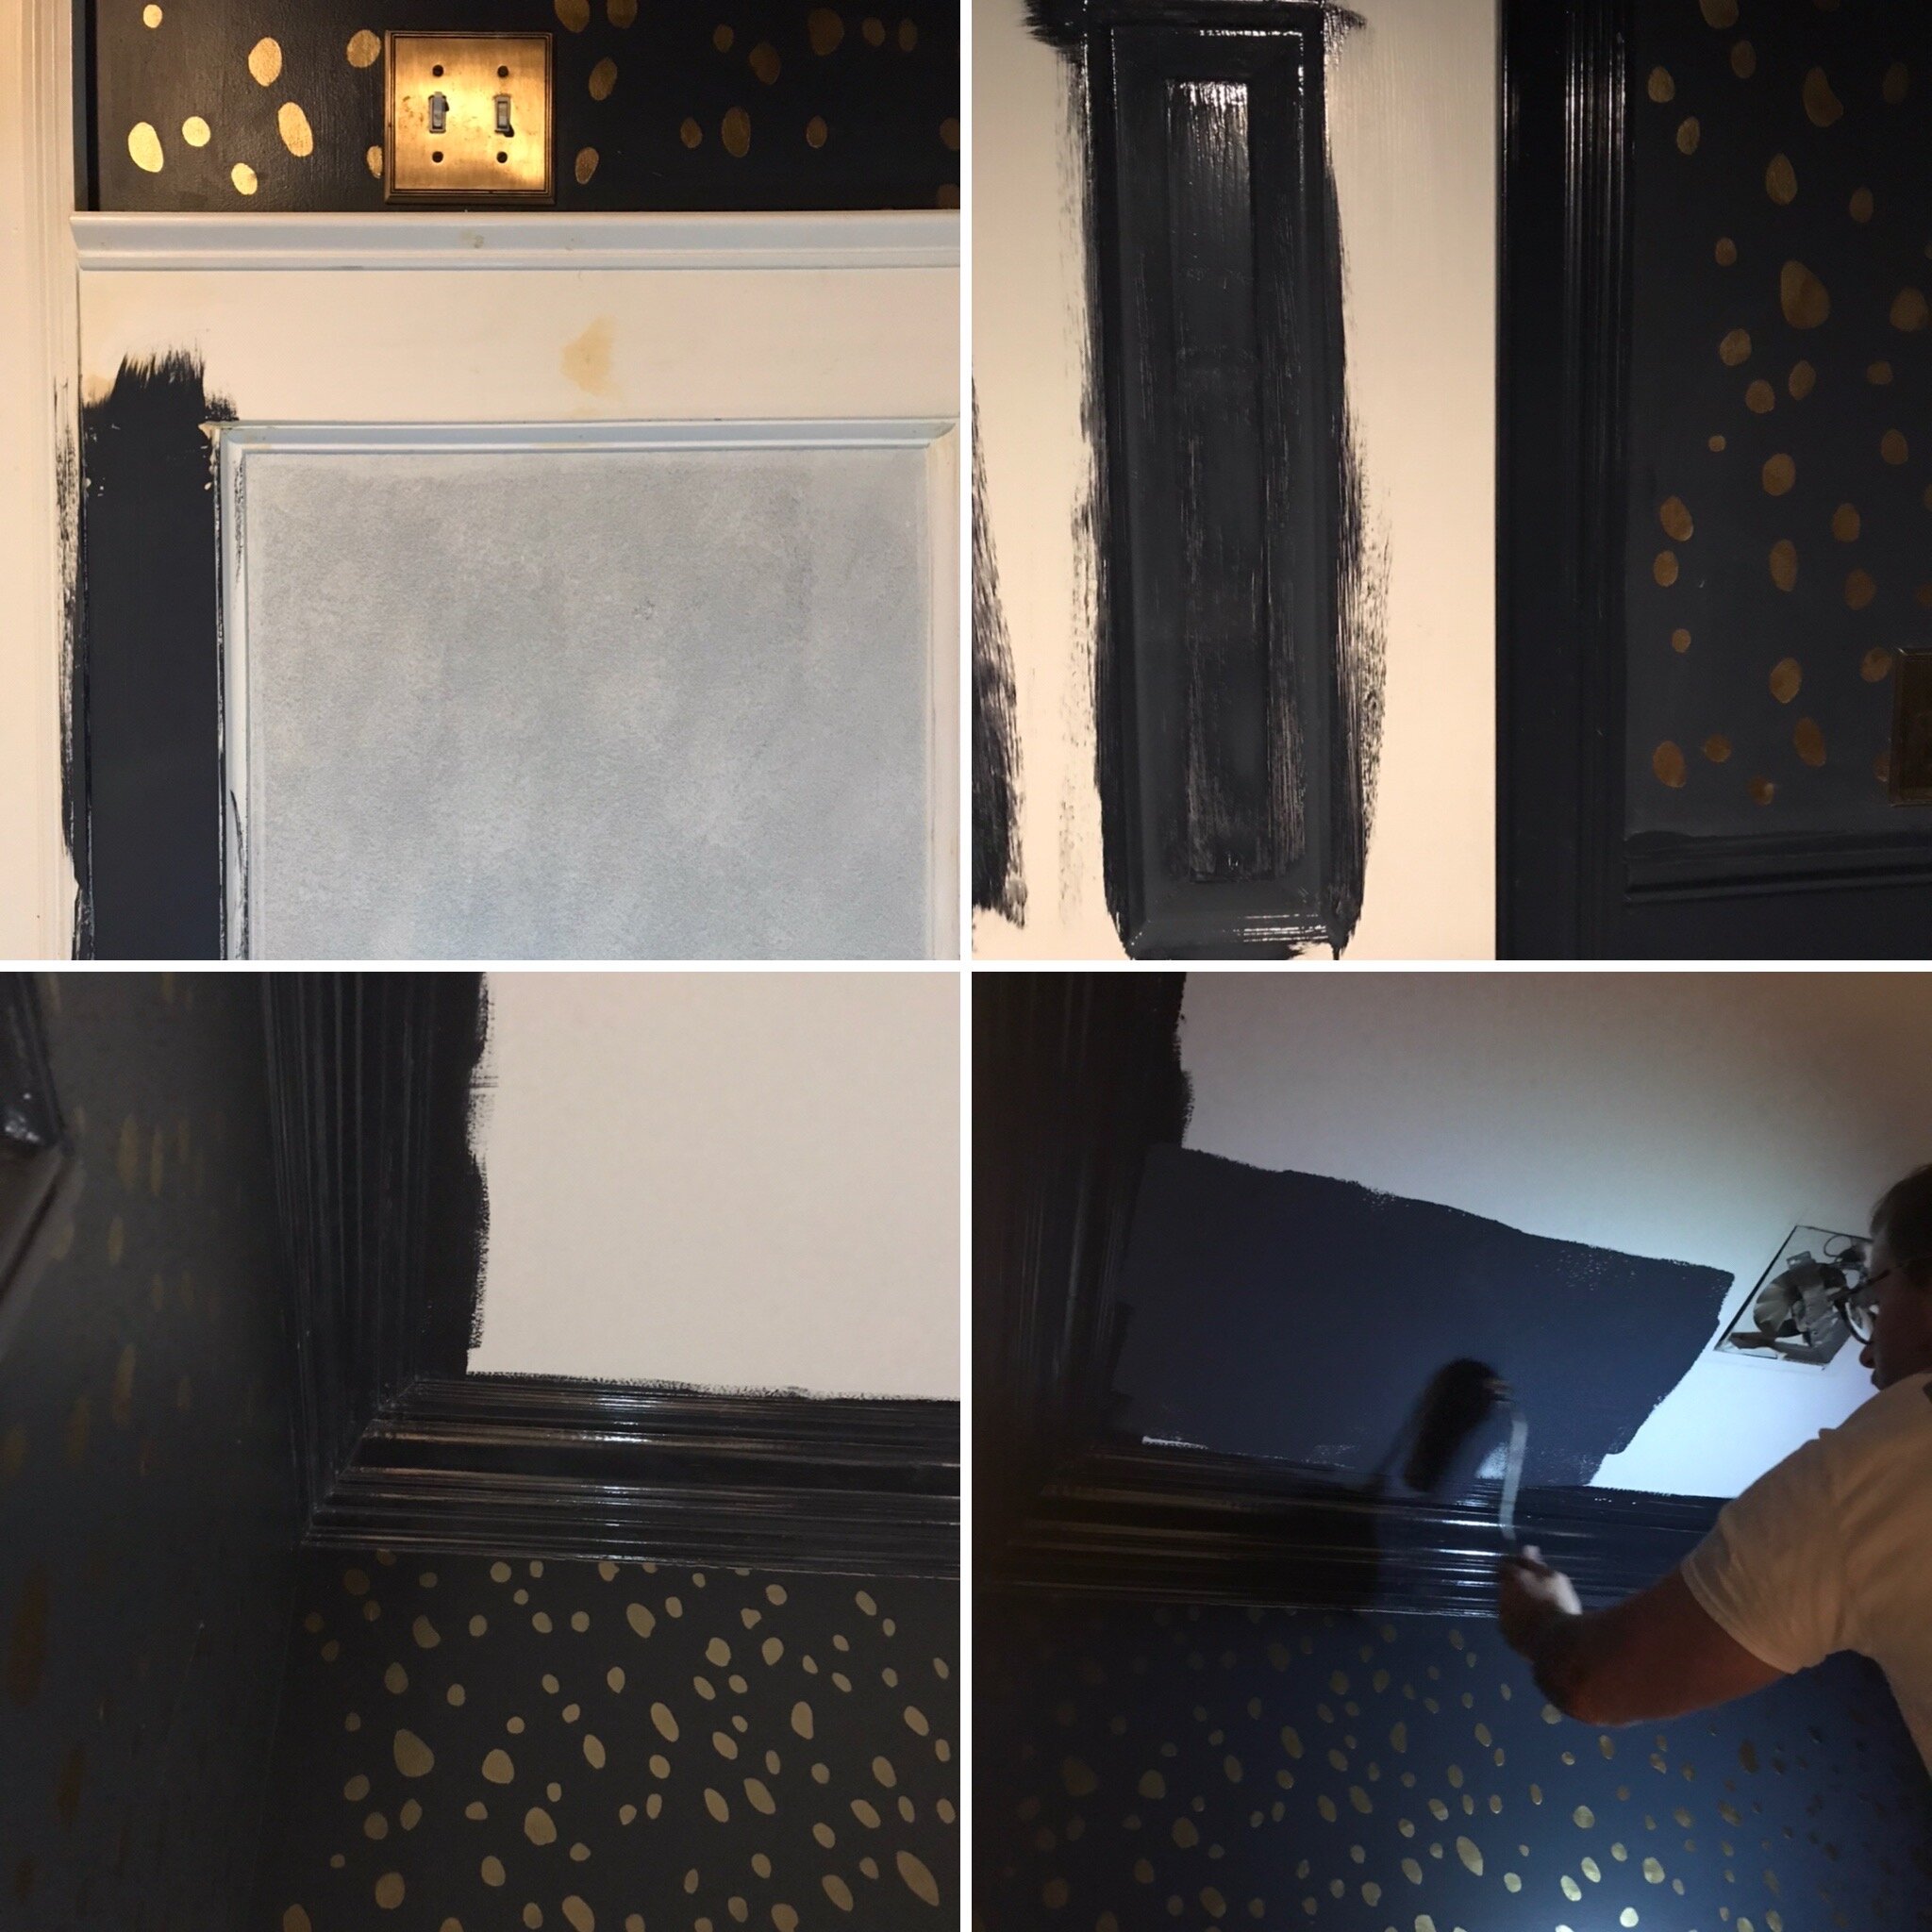
We choose Richards H20 Fusion Water based High Gloss Enamel in Benjamin Moore Hale Navy.
After some initial debate, we choose to paint all the floor trim, moulding, crown moulding , ceiling and door. It’s a lot of dark paint, in a small space, but the sheen is beautiful and relective! It’s exactly the little jewel box I had envisioned.
The big details are done, we’re definitely in the home stretch.
The potty is in.
The new light fixture is in.
The vanity and faucet are in.
We have fully functioning bathroom.
But now the handwork REALLY starts. How to accessorize???
Will we do more painting? Do we need more light and how would we make that happen with only one outlet near the sink?
We need a mirror (the old one doesn’t fit due to the higher moulding), hand towels, art, rug, and of course bathroom accessories…the list is long.
This may take awhile.
Until next time …


